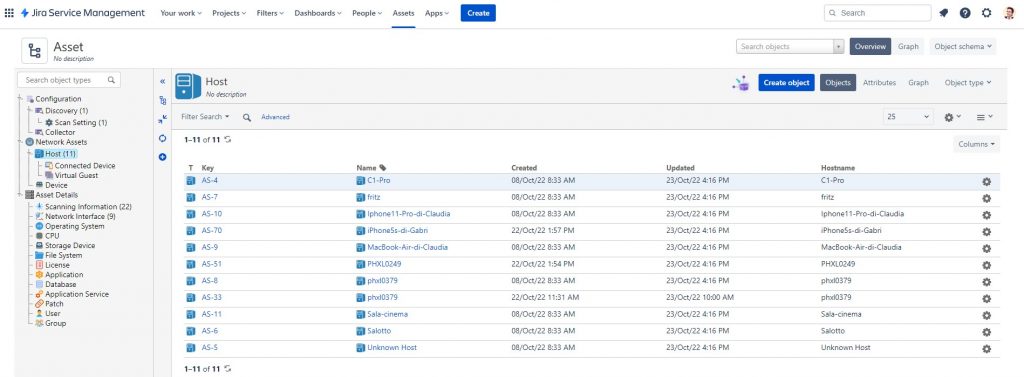
Are you a user of Jira Service Management Cloud, do you have the premium version and would you like to use the discovery tool to have a scheme where you can automatically receive updates on devices connected to your network?
Well, follow this very simple tutorial and you will have a mapping of your network in a very short time.
For the uninitiated Jira Service Management in the Premium version has the Asset module (which was previously called Insight and was from Mindville now instead is an Atlassian product) this module now included in Jira Service Management Premium is very flexible and allows us to create and use a set of Object Schemas to store the information we want to use in our Issues.
The Assets module allows you to include in Jira issues not only your Assets but any information you want to attach to your tickets.
So, imagine having a database available with objects created by you and which have all the attributes you need. Wouldn’t that be a wonderful thing?
As soon as you start using it, will you want to enter everything that you have managed up to now with dozens of excel sheets?
Well, the Atlassian Asset module allows you to do just that. You can enter your Assets (physical or otherwise) with all the details necessary for your work, you can print QR codes for each object and have the history of each object at hand by scanning the QR Code that you will have printed on a label glued to the object with a simple smartphone.
But let’s get to work right away and see together how quickly we can get a map of what we have installed in our network. For now we will not go into the details of how the system works but I will show you that in a few minutes you can have a diagram of what your network presents.
Take about 1 hour of time but you will see that you will immediately have a more than satisfactory result.
First of all, download the Asset Discovery software here (it is free!): https://marketplace.atlassian.com/apps/1214668/asset-discovery

Currently the software is at version 3.1.3, it is not a software that needs to be installed, if you want to make it automatic soon I will show you how to create a service on a computer that performs discovery regularly and sends data to the Jira Service Management Asset module keeping it updated your catalogue.
After downloading the Asset Discovery, unzip it and save the folders in a path you like.
Start the discovery program with a very simple discovery -s . Attention, the first time you run it, the program will ask you for a password that I advise you to save if you want to recover the settings that you will store from time to time on the system.
Once entered for the first time the program shows a series of tabs like this:
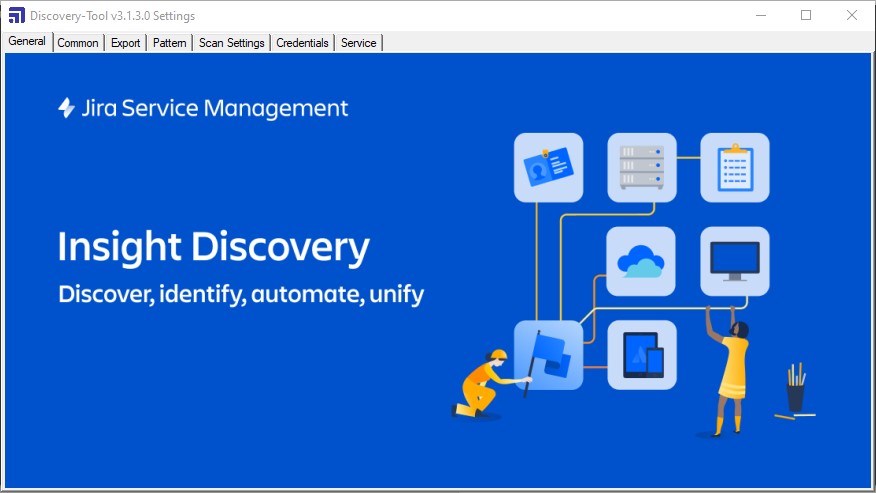
Each tab is important in its own way but to keep faith with what I said before and have an initial scheme very quickly we will omit the steps that we will refine in the next articles.
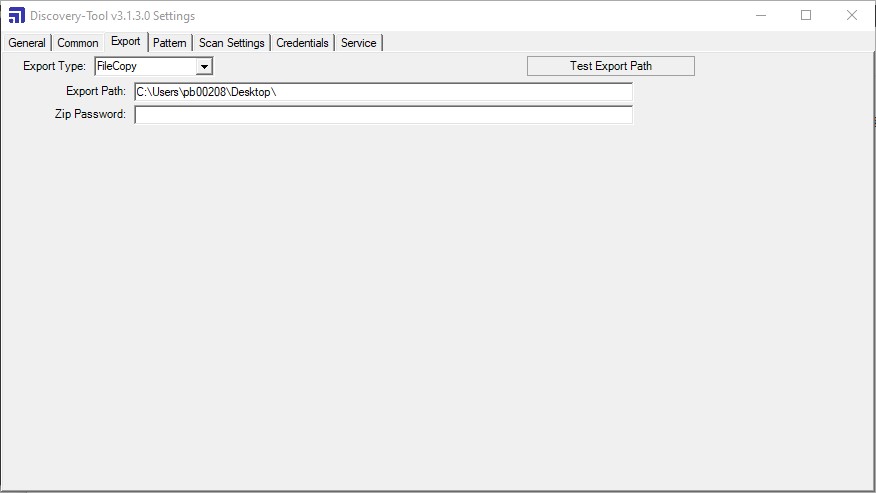
Let’s decide where to save the first scan by entering the path in the General tab, choose any path, even your desktop will be fine.
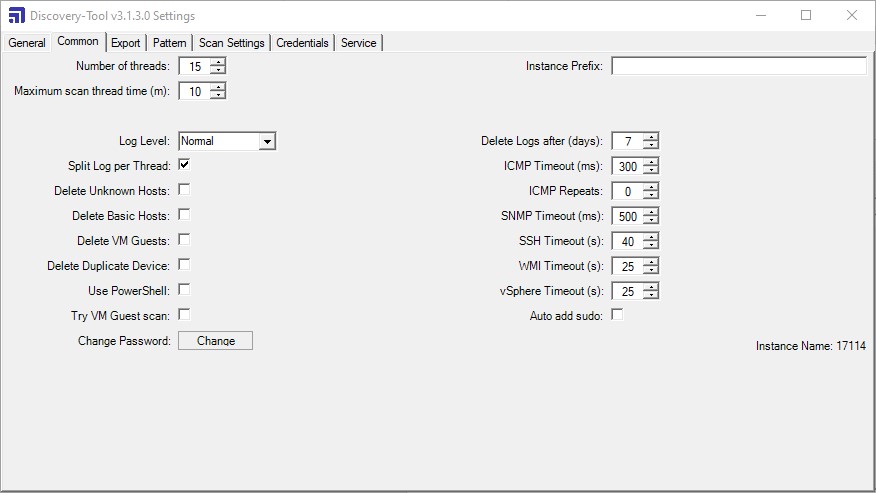
In the Common Tab we disable the deletion of the Unknown Host, Basic Host and VM Guest. We will then decide later whether to reactivate them.
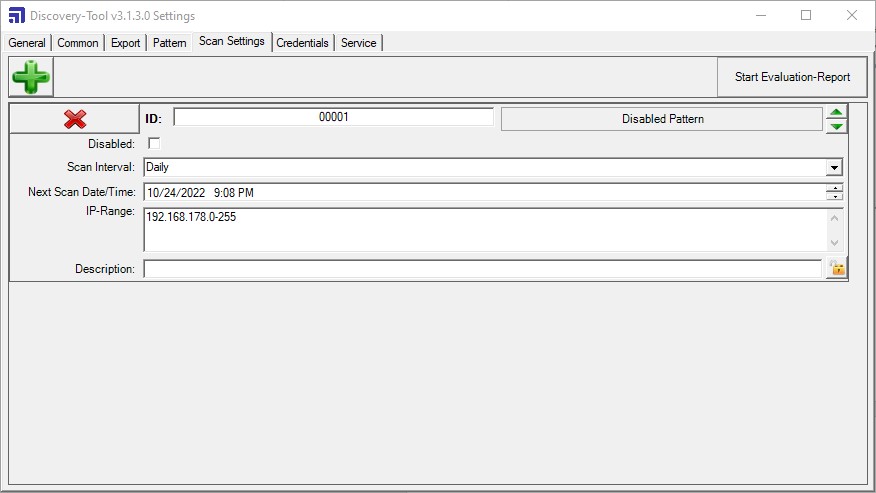
In the Scan Settings tab, insert our home or business network as the IP range, perhaps the same network as our PC for testing.
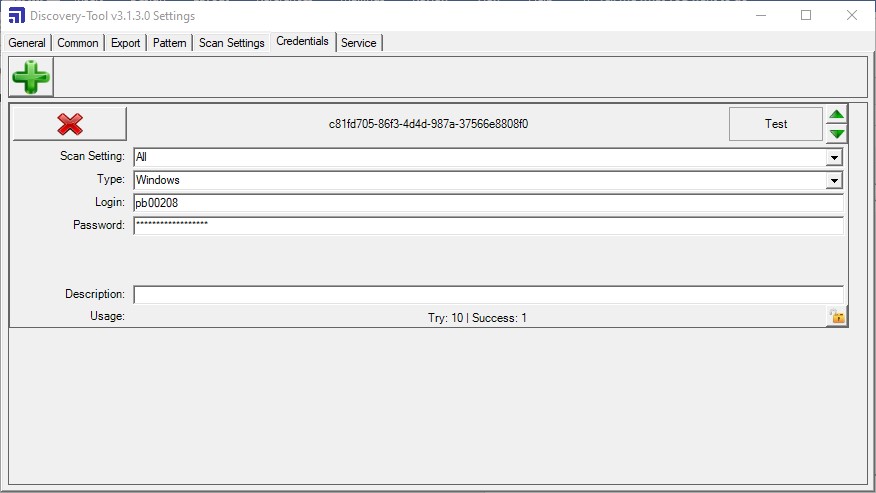
In the Credential tab we set the windows typology with a username and password that allows us to scan on the net (possibly you will have to create a specific user for scans).
if you have not entered, for this test, the login and your domain password.
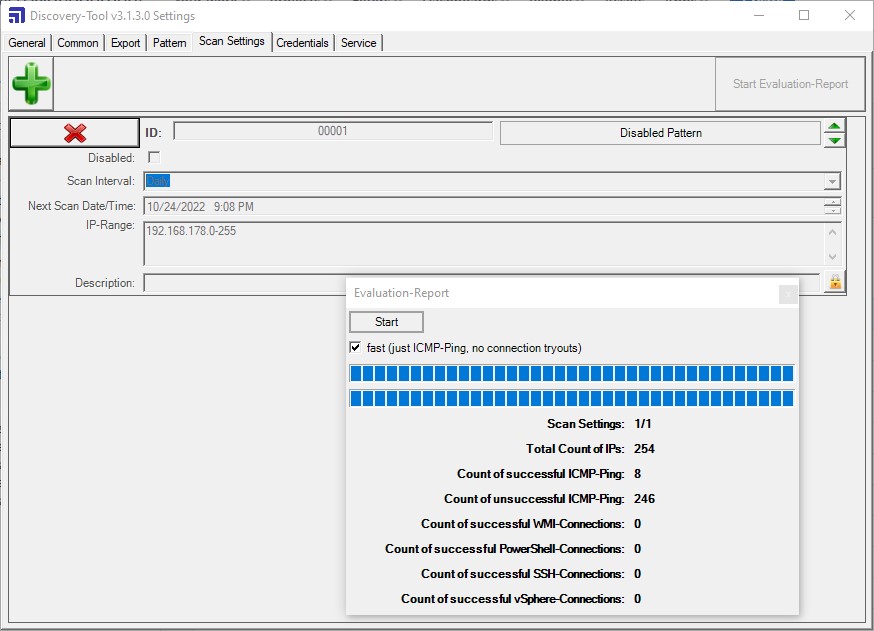
You can go back to the Scan Setting tab and do a test scan to see if objects are discovered on your network.
In my case the objects discovered in my home network are eight:
Good, in the next article we will see how to import the scan done manually on our Asset Jira Service Management and then how to automate the subsequent scans by creating an active service on the windows machine that we will use for discovery.
See you soon with the second part!


