


14. 04. 2025
AI, Atlassian, Events, Knowledge Management, Service Management

09. 12. 2021
Fabrizio Dovesi
Development, Service Management
First Steps on Your Atlassian Ecosystem – Integrate Jira Projects and Confluence Spaces
Once you have an empty, configured Atlassian cloud site, what are the right steps to take in order to get value from it at time zero?
After following these simple steps, in just a few minutes you'll have:
📌 A Confluence Space to manage your documentation
📌 An integrated Jira Project and Confluence Space
📌 The opportunity to invite your team to your Confluence Space and start collaborating with them
Introduction
This post is intended for those who already own an existing Jira/Confluence cloud site, but are at the beginning of their Atlassian journey. In case you don’t have a site available yet, you can quickly create one for free by reading my previous post.
“Integration” is one of the undisputed MUST words to be clearly written down on paper if you’re planning to evaluate new products, strategies, procedures or just re-organize your team’s way of working.
This is something that you can definitively consider as already flagged as “Done” if the Atlassian cloud products are involved. We are going to showcase how easy it is to get a significant taste of it with this post. Confluence and Jira are going to work together in a completely integrated way with just a few simple, quick clicks.
As usual, I would like to reassure you through via following Q/A:
How much does it cost? The products presented in this blog series are entirely free (no payment or credit card are required at instance creation or later) and currently, there is no end-date on your instance, so free licenses won’t expire.
How long does it take? 5 minutes to create a Jira Project + a Confluence Space and link them; then, you will be able to use the Jira project to manage your team’s work and the Confluence Space for team documentation and collaboration.
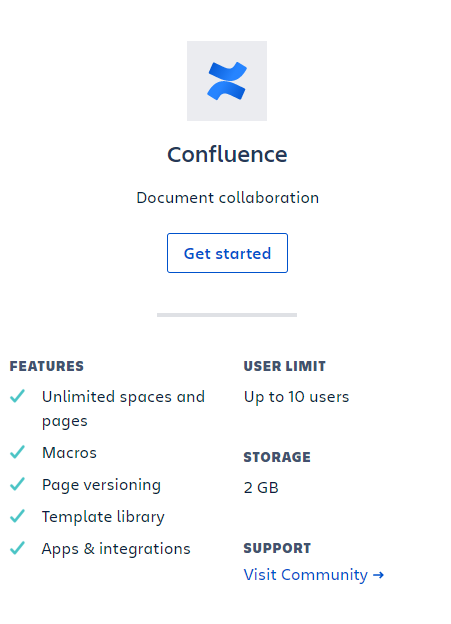
Which features are available on the free plan and which ones are added through payment plans? As I already explained in my previous post, many of the main features are already in place in the free plan! Bear in mind that the number of users on free plans is limited to 10 users for both Jira Software and Confluence.

Before starting, there’s something you should be aware of:
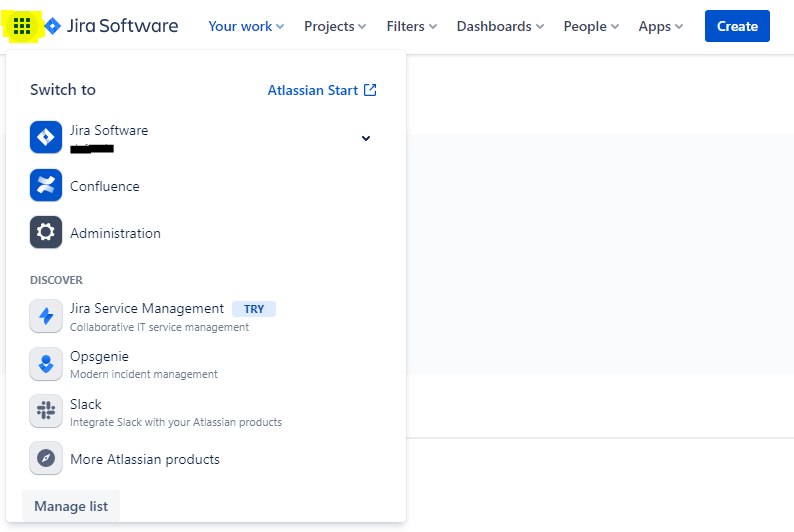
⚠ Your site URL is shared between Confluence and Jira! So, it’s easy and handy to switch from one product to another by using the Product switcher button on the left of the main navigation bar at the top of the page:
⚠ The content you are going to create within the Confluence space cannot be public (visible to anyone in the web), but are only accessible to invited users!!! Since you are on a free plan, users permission options are limited and so this is not permitted.
Step-by-step Guide
We’re ready to put our hands on these tools now! so, let’s start!
STEP 1 – Open your Confluence cloud for the first time
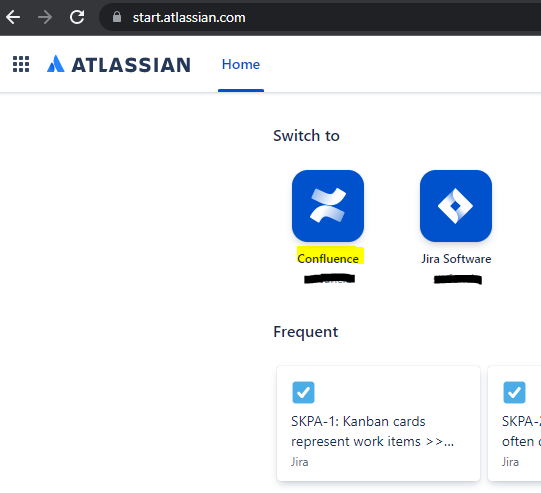
First of all, sign in to your Atlassian account from Atlassian’s Login page. Once you are in, you have all the free products enabled in the previous post and from there you can click on Confluence.
If you just see the Jira Software icon, maybe you forgot to add Confluence last time; if that’s the case, just add it from here
The first time you join Confluence, you must create one Space (choose the name that best suits your need) and then you can directly invite team members and let them even add other people from the welcome pages (see the picture to the right).
Since this second step is not mandatory, I strongly suggest you unset both options. You will always be able to manage your users once the space has been configured.

Let’s invite your team later, so you can unflag both options
STEP 2 – Create your Team Confluence Space
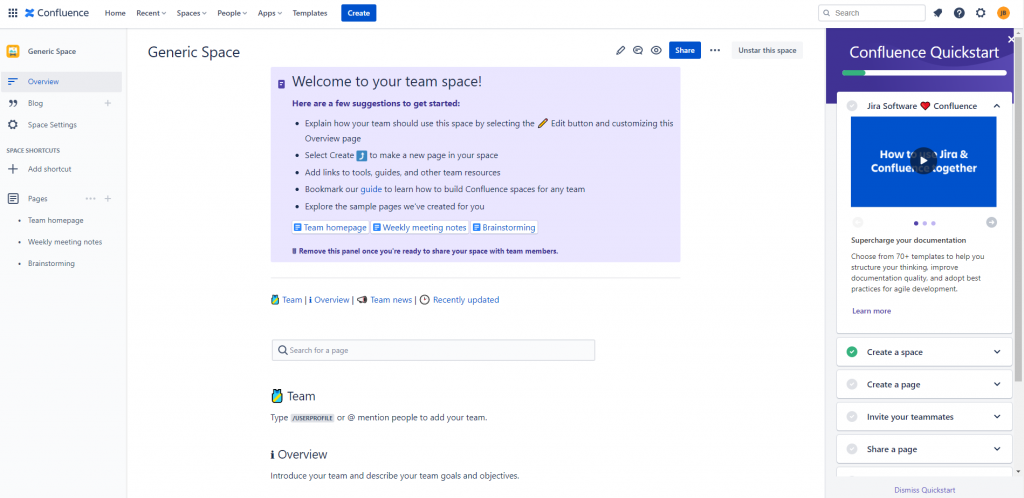
Once you have completed the “welcome process” you will land on the new Space‘s Overview page. If you are at a very early stage at knowing what you can do with Confluence, I strongly suggest following the Quickstart guide to the left. If this is not the case, you can close it from the top right in any moment.
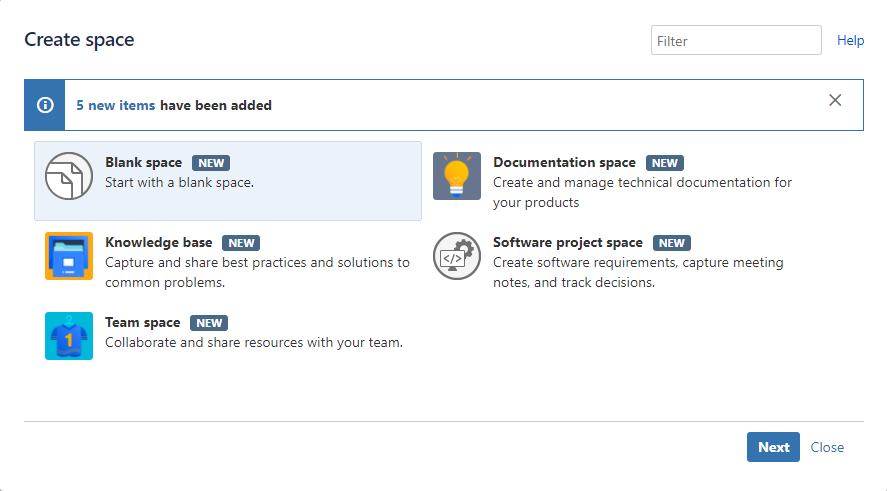
At this stage, we start by creating another Blank space in order to not get confused by all of the sample contents we have around in the first space just created.
Note that within Confluence the personal space is already present for the user “James Bond” in the example on the right. It’s the same in your Confluence since you will already have yours, as well as each user who joins will have their own dedicated personal space. Then, it will be up to each of them whether the content of the personal space is to be restricted totally, partially or not at all.
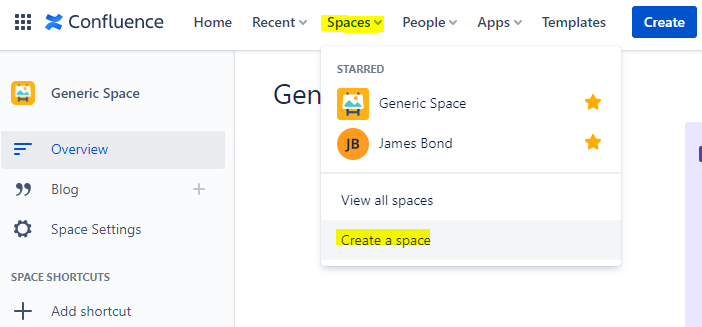
You can click on Spaces -> Create a Space from the navigation bar to create a Blank space to be used next.
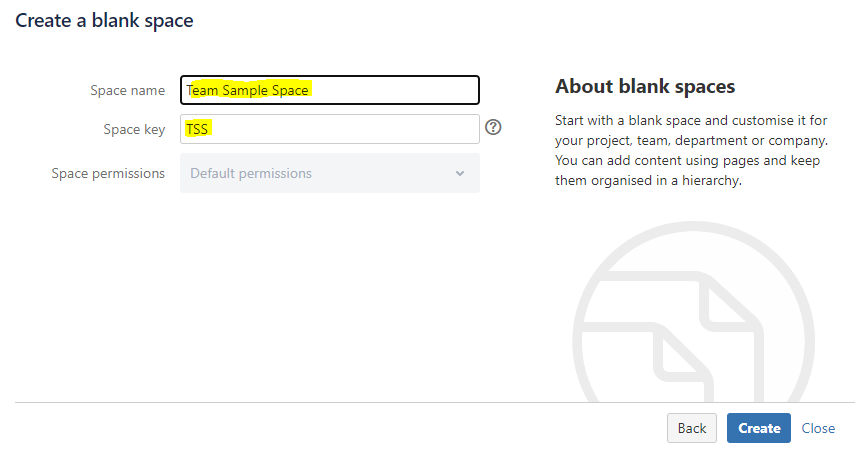
Finally, a space name and a space key are required before creating your new space.
Since you are on a free plan instance, you won’t be able to manage the global permissions.
STEP 3 – Link the Jira Software Project (with sample data) to your new Space
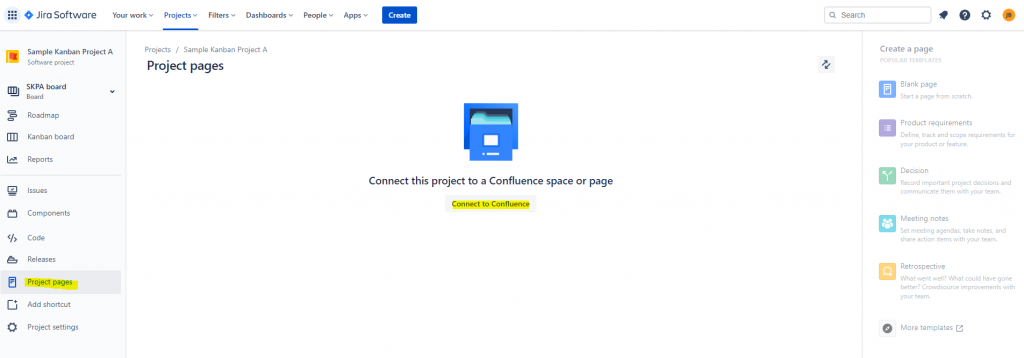
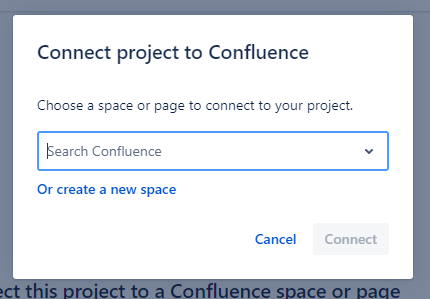
Go back to Jira Software and then go to the Jira project with sample data you previously created. Then click on Project pages -> Connect to Confluence
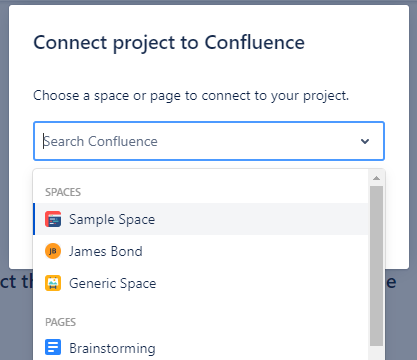
Jira asks you to define the destination Space or gives you the option to create a new one. In this case, we choose to connect to the one just created from the select list menu as in the picture below:
STEP 4 – Create a Confluence page directly from a Jira Project
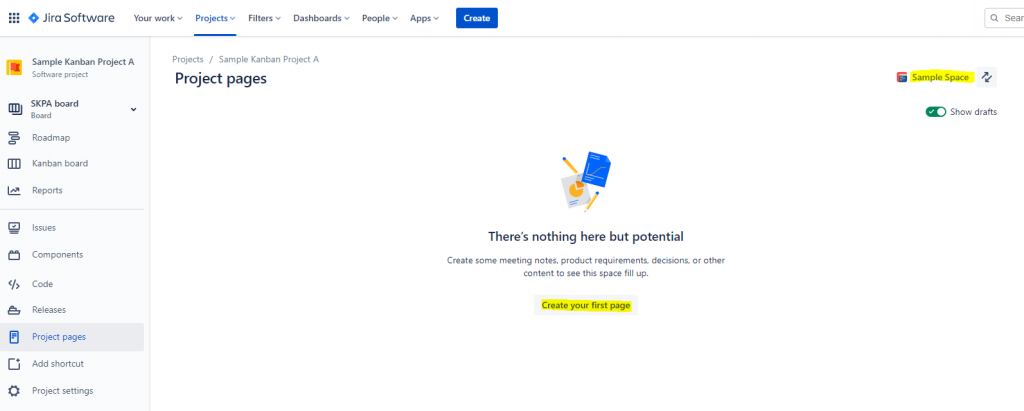
Once the space is connected, you should have the Space logo and name at the top right of the screen (see the picture below).
Jira and Confluence integration let you decide whether to create new pages and content from both of the products. This means that you are effectively able to start creating new Confluence pages directly from the Jira project thanks to the last step you did! Hence, click on Create your first page at the bottom center and test it by creating a Test Page.
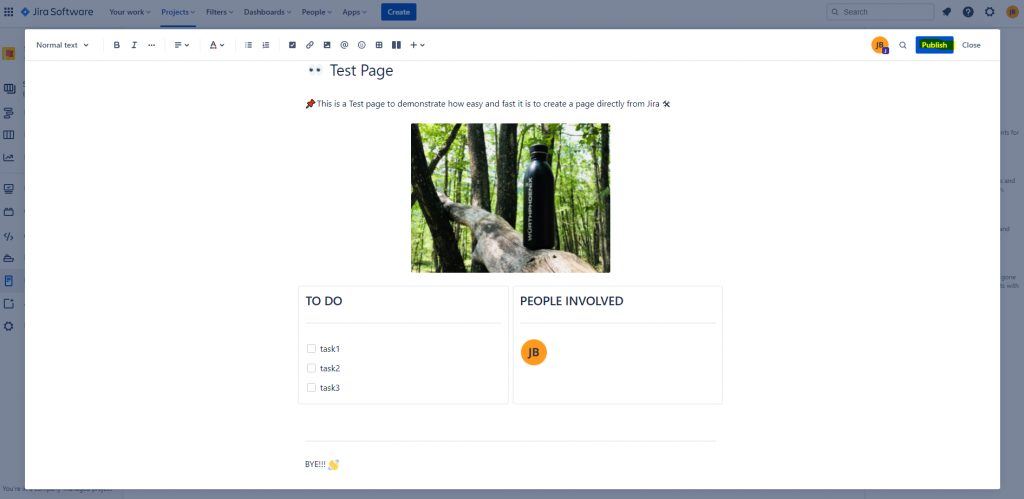
Once you’ve put some content like title, normal text on a paragraph, a picture or whatever you want within the page, you can save it by clicking on Publish, up to the right.
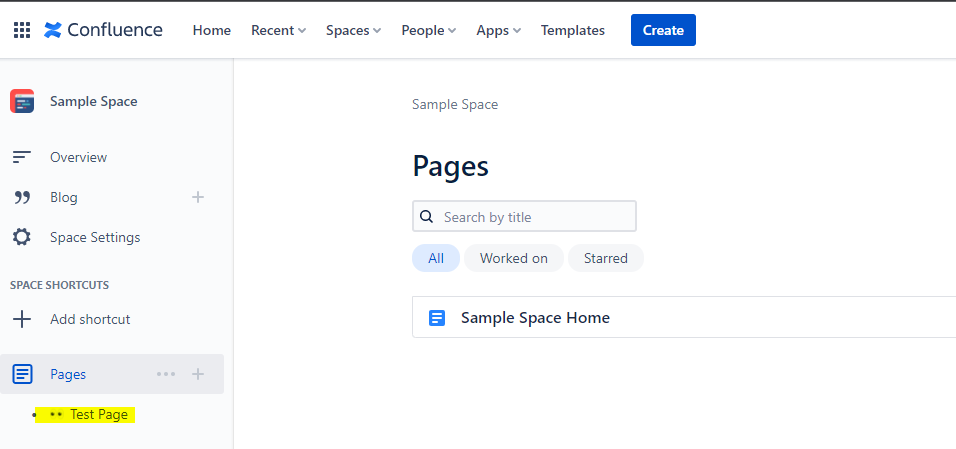
Finally, you can even go back to Confluence to check if the page has been properly created and nested under the Pages section on the left menu, like in the picture here to the right.
STEP 5 – Invite other users to collaborate with you
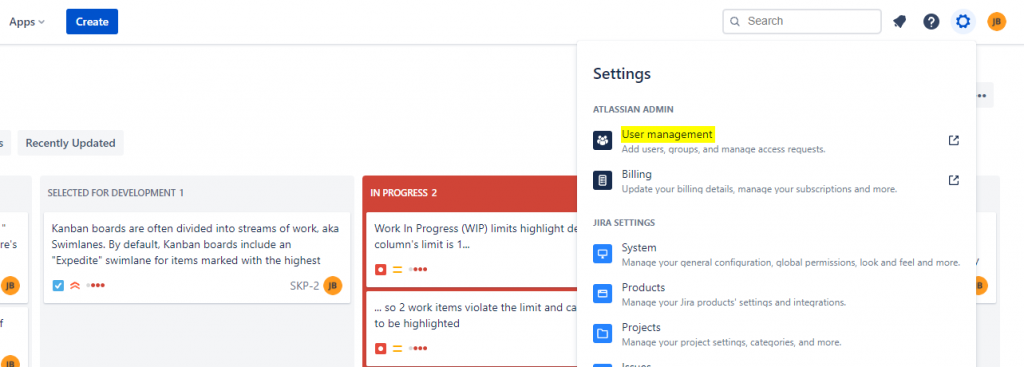
Once again, we repeat that as long as you use a free license you can manage up to 10 users within Jira SW and Confluence (9 users + you). Also remember that you just need a valid email address for each user to invite them to your instance; then, you add them within the “User Management” section from the admin panel (the gear icon at the top right of the main menu that you can find on both Jira and Confluence).
Add users from Jira cloud side

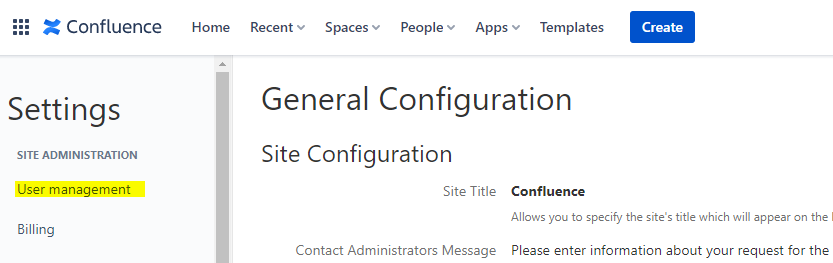
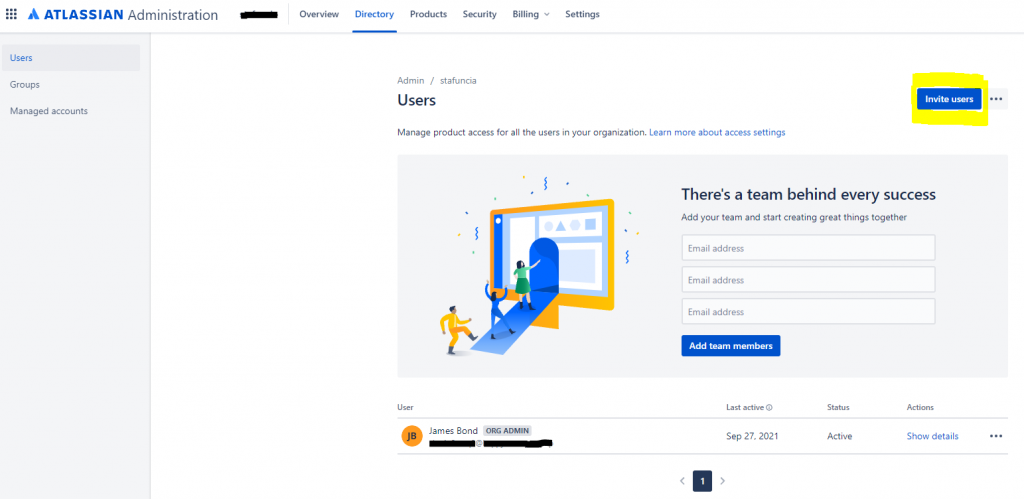
As usual, you will be redirected to the Atlassian Administration site to grant users access, manage groups membership, manage product billing and so on. Hence, this is also the place to invite new users.
From here, by clicking on “Invite users” at the top right, you will be able to create users from a dedicated window to invite people.
As already explained in the previous post, once you have added one or more email addresses in the dedicated section, the system lets you grant those users specific product access (like Jira, Confluence, etc…) and, eventually, permission to administer them. So, let’s pick the ones that best suit you and your collaborators’ needs and, eventually, associate them with some groups.
Remember that you will always be able to change user permissions in the future if you need to.
Finally, by clicking on the “Invite users” button, the people involved will receive an invitation email containing a specific link that will let them join you on your site; they will be asked to sign in (or sign up) with an Atlassian Account, exactly as you did at the beginning of Step 1.

Conclusion
Through the overall simplicity and the small amount of time required to complete the steps above, you are now in a position to start gaining value from the Jira <-> Confluence integration, so Congrats!!!!
I hope you’ve enjoyed this post, and don’t miss my upcoming episodes on “how to use Macros within Confluence pages….” to make your pages more clear and effective.
So, stay tuned and see you in the next episode! 😉
Author
Latest posts by Fabrizio Dovesi
21. 03. 2025
Atlassian, Service Management
Be a “Whiteboard Blackbelt” to Unleash Effective Collaboration
29. 12. 2024
Atlassian, Service Management
Let’s Repopulate the Community of “Pandas 🐼” Who are Happy with How Their Company Handles Documentation
29. 11. 2024
Atlassian, Service Management
The Importance of Being…Informed for Finding Your Way across All Jira Products!
15. 10. 2024
Atlassian, Service Management
Streamline Your Product Roadmap Decision-making Process with Jira Product Discovery
28. 08. 2024
Atlassian, Service Management
Automate the Clustering of Similar Cases for Effective Handling of a Significant Volume of Incoming Alerts