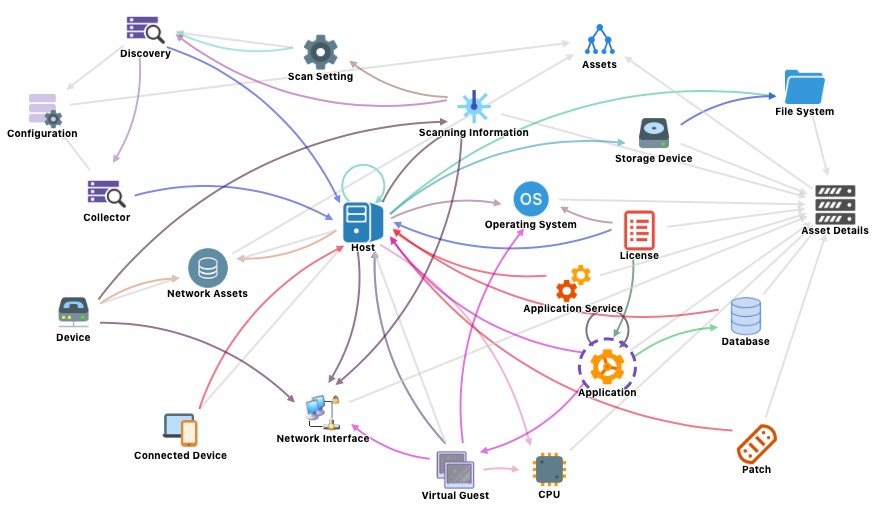
What is Insight? Insight is the Atlassian CMDB included in Jira Service Management Cloud Premium.
If you’re reading this article, you probably already have Jira Service Management, but are not yet familiar with Insight.
So let’s start with the first of a series of exercises that will help you learn more about cloud Insight and its features.
We’ll use a very simple CSV file that lists some company assets and then import them into Insight.
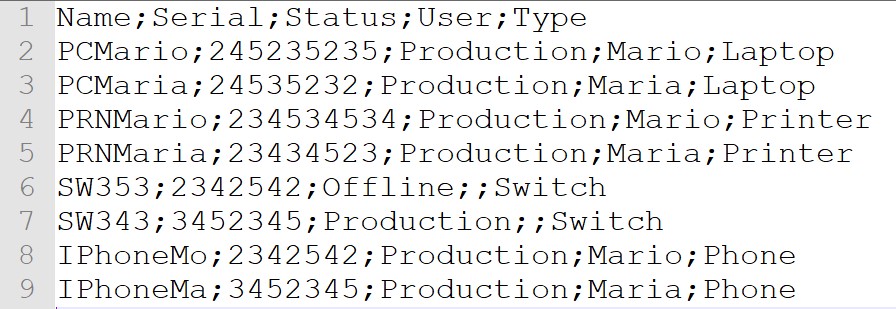
Create a CSV file with a text editor (e.g., Notepad++) and insert these lines:
Name;Serial;Status;User;Type
PCMario;245235235;Production;Mario;Laptop
PCMaria;24535232;Production;Maria;Laptop
PRNMario;234534534;Production;Mario;Printer
PRNMaria;23434523;Production;Maria;Printer
SW353;2342542;Offline;;Switch
SW343;3452345;Production;;Switch
IPhoneMo;2342542;Production;Mario;Phone
IPhoneMa;3452345;Production;Maria;Phone
It should appear like this:
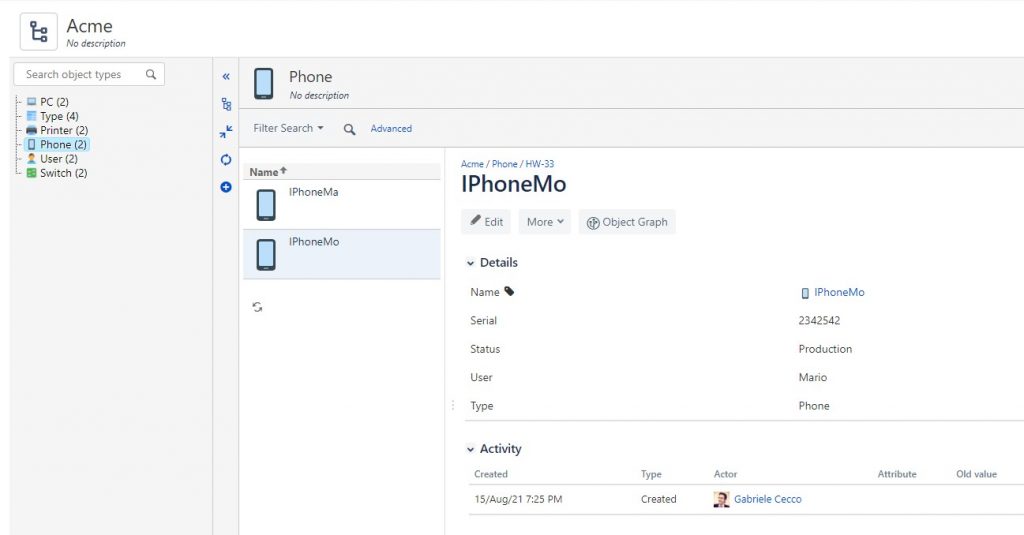
At the end of the exercise we will have imported the CSV into a scheme like the one below. We can later expand the data by importing more records:
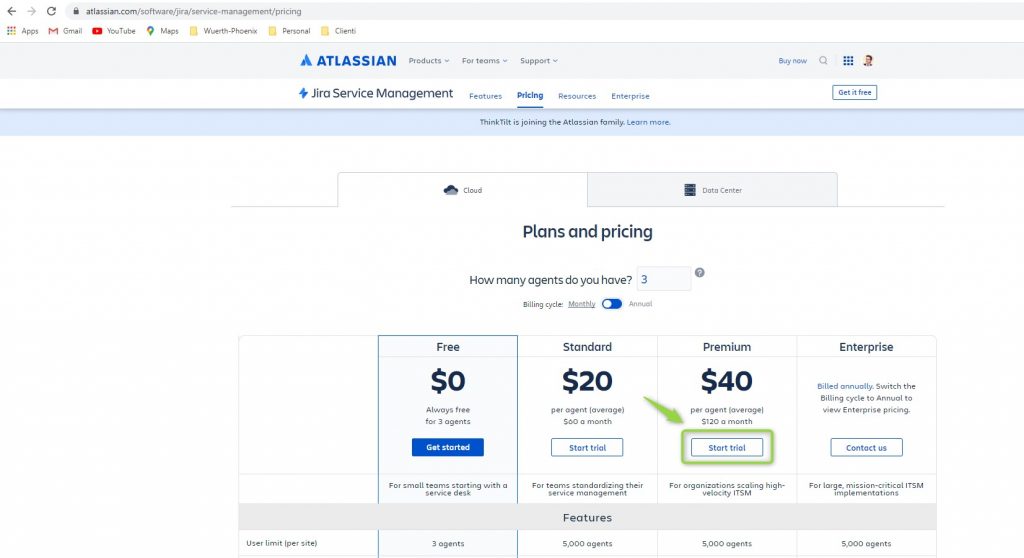
First of all, if you haven’t already done so, you need to activate a Premium trial version of Jira Service Management (the free and the standard versions do not have the Insight module).
Click on the link https://www.atlassian.com/software/jira/service-management/pricing and choose the premium trial.
Then give your site a name and click on Start.
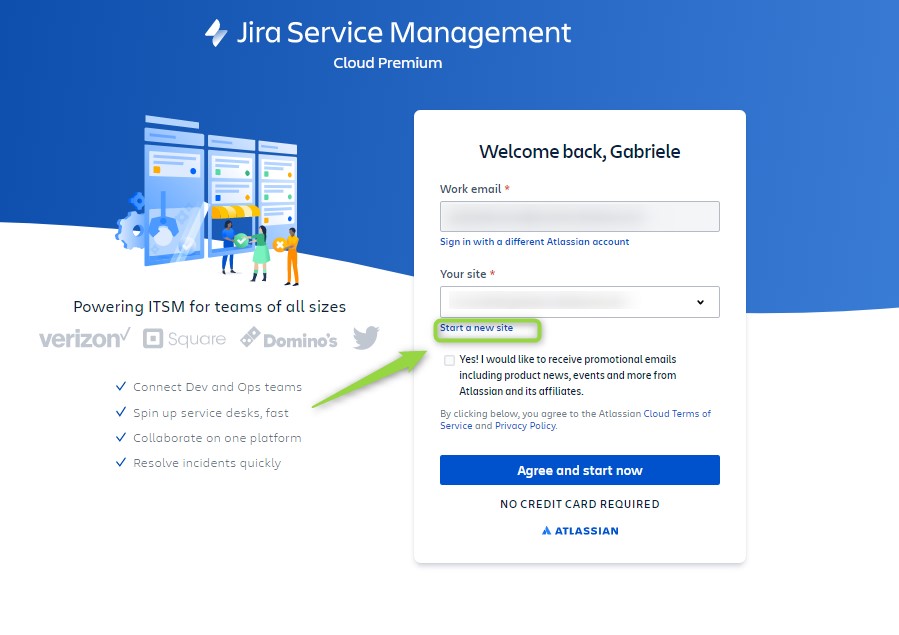
Now wait a few seconds …

…and choose your first project:
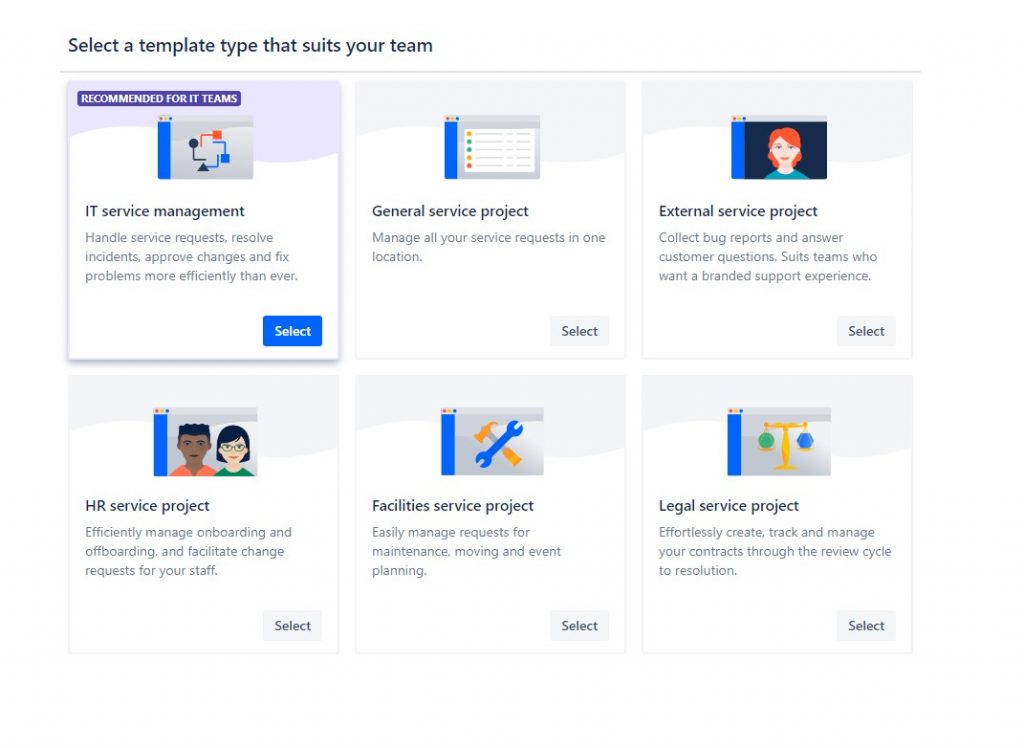
Enter the project and create a new Object Schema, calling it Acme:
Insight > View all object schemas > Create object schema
Now create these 6 objects by adding them with the `+` key:
- PC
- Printer
- Switch
- Phone
- User
- Type

Create the Serial, Status, User and Type attributes for the PC, Printer, Phone, Switch objects.

Then click on Object schema > Configure.

And then on Import > Be the first to create one and choose `CSV`.

Enter a name and click Next.
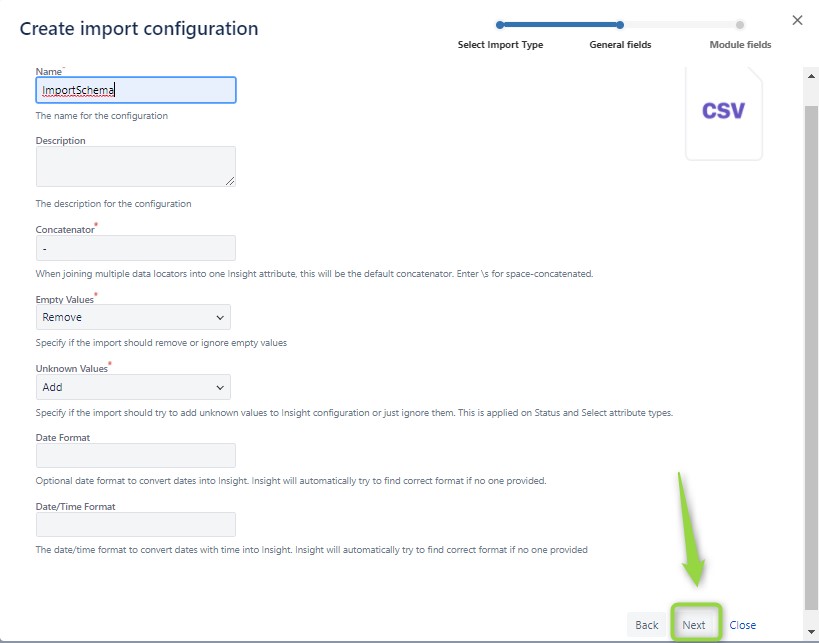
Now load the previously created CSV file, setting `;` as the delimiter, and click on Save import configuration.
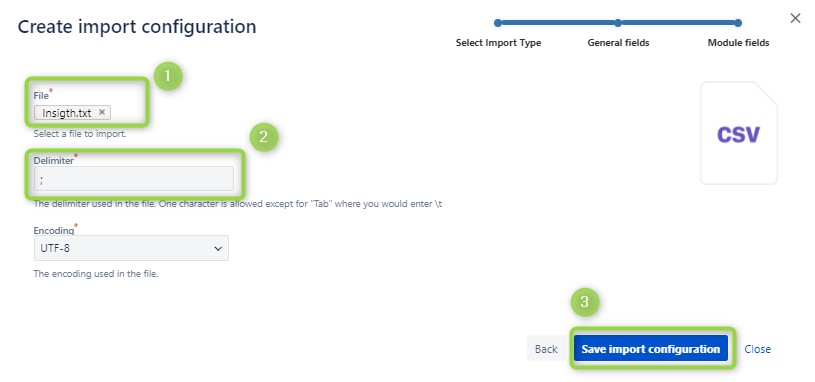
Then just click on Close, do not create predefined structures or configurations because we will create them later.
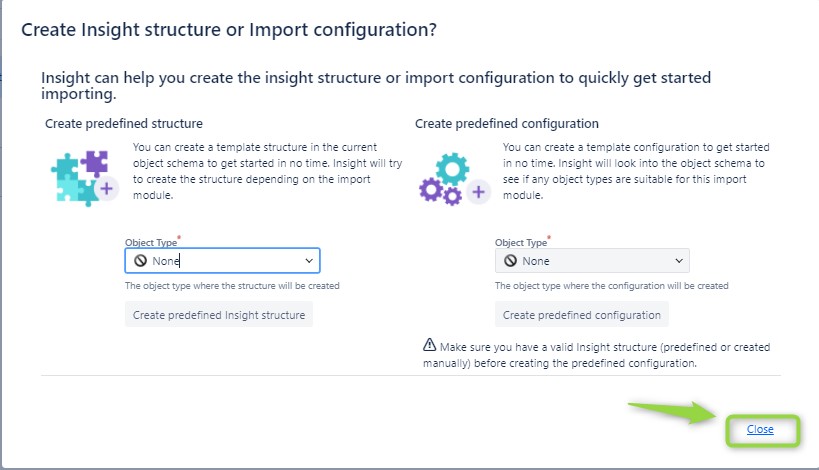
Now we need to set up the system to get a view like this:
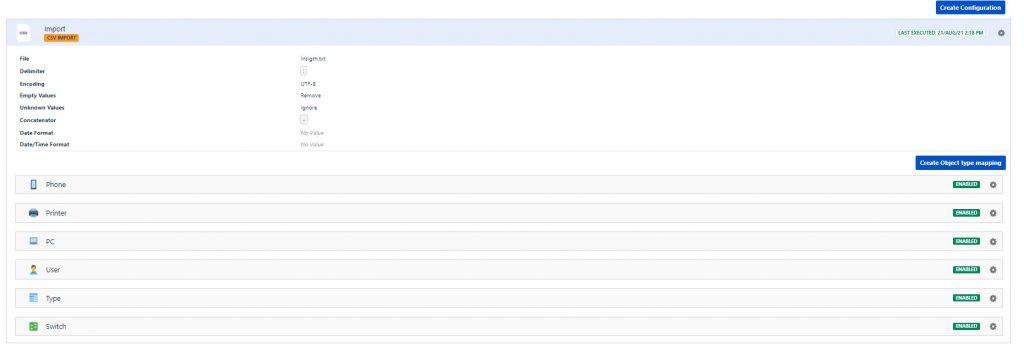
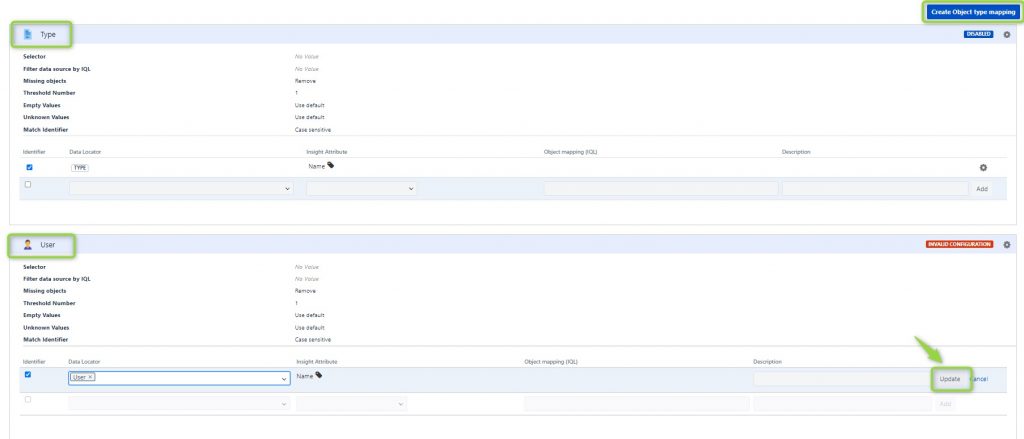
To do this we expand the schema and click on Create Object type mapping:

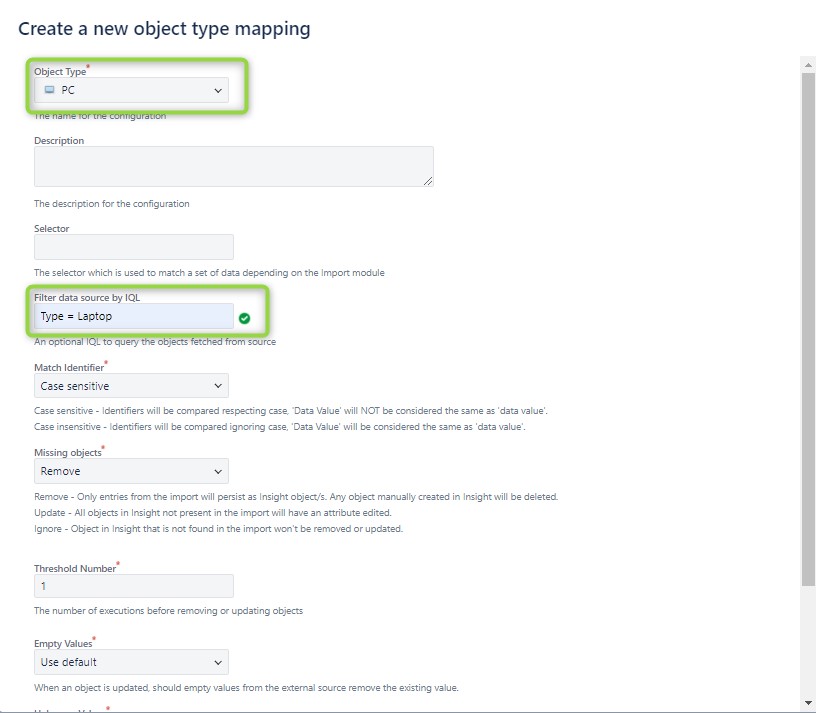
And create the object types PC, Printer, Phone, and Switch by filtering them in the Filter data source by IQL field one by one, by inserting the filters:
- Type = Laptop
- Type = Printer
- Type = Phone
- Type = Switch
Insight informs us that the configuration is invalid as we have not yet set the data locator:
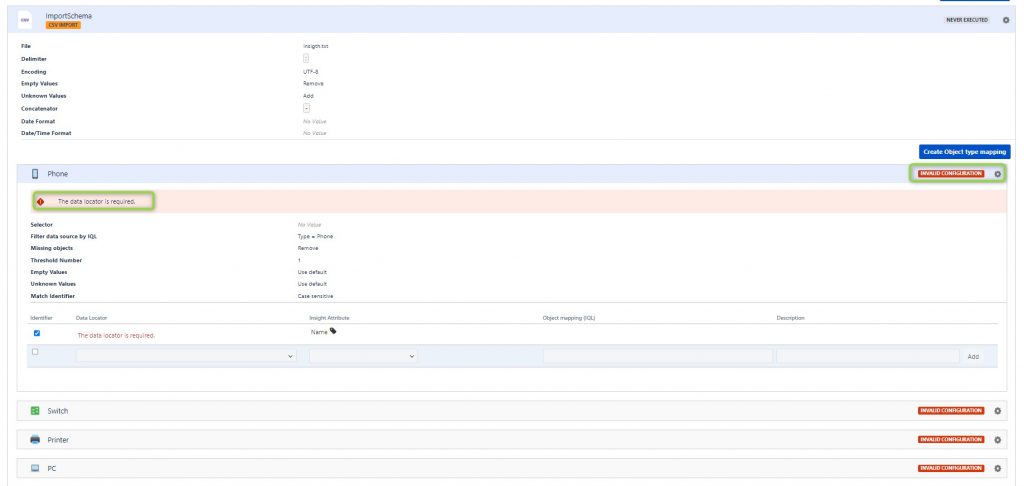
Enter the data locator Name for the Insight Attribute Name and add the other User, Type, Serial, Status attributes as in the image below for these objects: PC, Phone, Printer and Switch.

Finally, create the object type mappings for Type and User in this way:
And enable all type mappings …
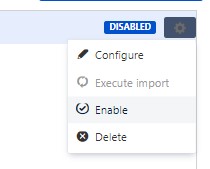
… which should result in this configuration:

At this point you just have to import your file…

… and then you should see this output:
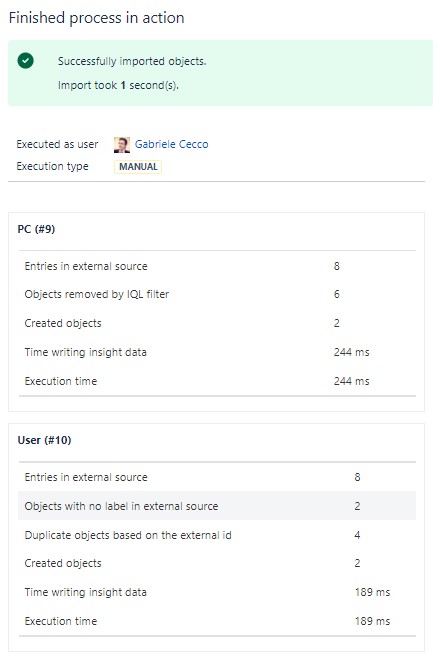
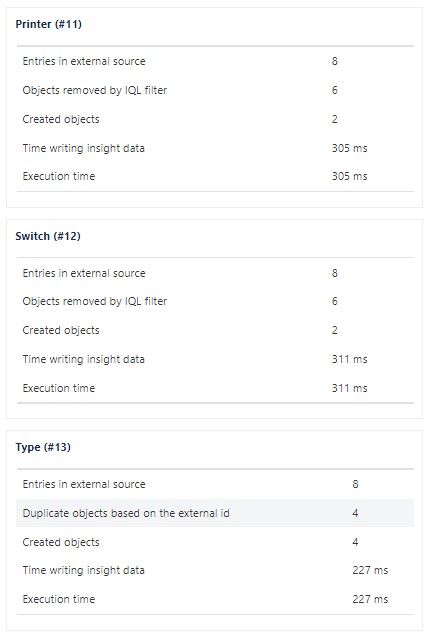
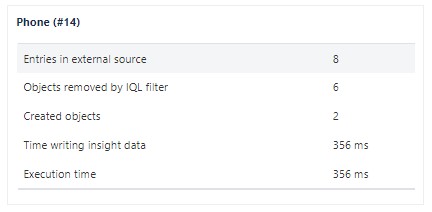
And so you have concluded your first import, and the result should now be visible on your CMDB.


